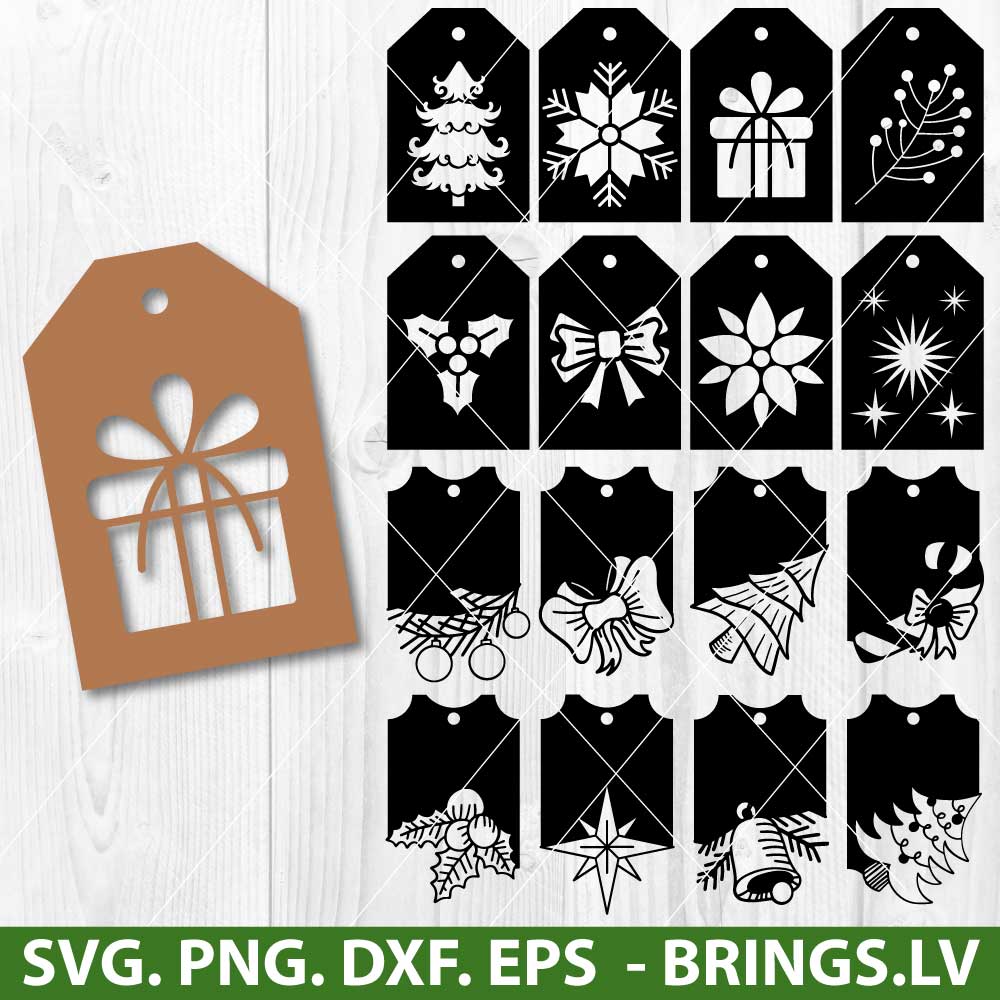
Description
Creating a Christmas laser-cut gift tag can be a fun and personalized way to add a special touch to your presents. Here’s a simple guide to help you get started:
Materials Needed:
Wood or Acrylic Sheet: Choose a material suitable for laser cutting. Birch plywood or acrylic sheets are popular choices.
Laser Cutter: Access to a laser cutting machine is essential.
Set Up Laser Cutter:
Configure the laser cutter settings according to your material. Settings may include power, speed, and frequency.
Material Alignment:
Place your material in the laser cutter, ensuring it’s flat and well-aligned.
Import Design:
Import your vector design into the laser cutter software.
Adjust Settings:
Set the laser cutter settings based on the material and thickness.
Test Cut:
Before cutting the actual design, do a test cut on a scrap piece to ensure the settings are correct.
Load Material:
Once satisfied with the test cut, load the actual material into the laser cutter.
Start Cutting:
Initiate the cutting process. The laser cutter will follow the vector paths you designed, creating your Christmas tag.
Remove and Assemble:
Carefully remove the cut tags from the material. If you added a hole, thread a string through it for attaching to the gift.
Consider painting or decorating the tags further to add a personal touch.
Attach to Gifts:
Use the tags to label and decorate your Christmas gifts.


Mateo (verified owner) –
Amazing graphic! Cannot wait to use it!
Tyler (verified owner) –
Amazing graphic! Cannot wait to use it!
Nolan (verified owner) –
Great product and price!
Ryder (verified owner) –
Great buy!!!
Anthony (verified owner) –
Great file and good price for what I got and loved them.
Kai (verified owner) –
Great buy!!!
Camden (verified owner) –
Amazing graphic! Cannot wait to use it!
Camden (verified owner) –
Super cute designs and easy to work with! my neighbors will love them!
Camden (verified owner) –
Loved it! Thank you so much!
Aiden (verified owner) –
Good selection of files. They serve a lot.
Max (verified owner) –
Great size and quality, thanks!
Owen (verified owner) –
Easy download. Would buy from again. As was expected.
Lucas (verified owner) –
Great file. Super easy to download and work with!
Liam (verified owner) –
Amazing graphic! Cannot wait to use it!
Tyler (verified owner) –
Loved the design. My project turned out perfect! Thank you!
Riley (verified owner) –
I love these ornaments! You did an awesome job!
Daniel (verified owner) –
Thank you very much ..Everything is perfect.
Michael (verified owner) –
Loved it! Thank you so much!
Matthew (verified owner) –
Very nice SVG, I really like it.
Isaac (verified owner) –
Loved it! Thank you so much!
Nolan (verified owner) –
Loved all the options available and was exactly what I was looking for!
Phoenix (verified owner) –
Love these images! Great set.
Dylan (verified owner) –
Looking forward to using the pattern.
Dylan (verified owner) –
Great design. Thank you so much!
Avery (verified owner) –
Really cute and was a lot easier to make than I really expected.
Kevin (verified owner) –
Loved the design. My project turned out perfect! Thank you!
William –
These SVGs saved me hours of design work